 |
| New Shaker Card design by Kimberly Bower featuring Holiday Sparkle Cut Above Card Kit |

Holiday Sparkle - CTMH Technique Blog Hop
Welcome to our Holiday Sparkle and Seasons of Joy Blog Hop. I'm so glad you're here! If you're here from Melinda Everitt's blog, you're on the right path. This hop is a great big circle so you can start here and work your way around. When you get back to me you'll know that you've seen all of the creative ideas offered through this month's blog hop. There are 14 participating consultants so you're bound to be inspired by the time you complete the hop. You can continue the hop by clicking on the links provided in each post. Should you get lost along the way, there is a list of participants here.
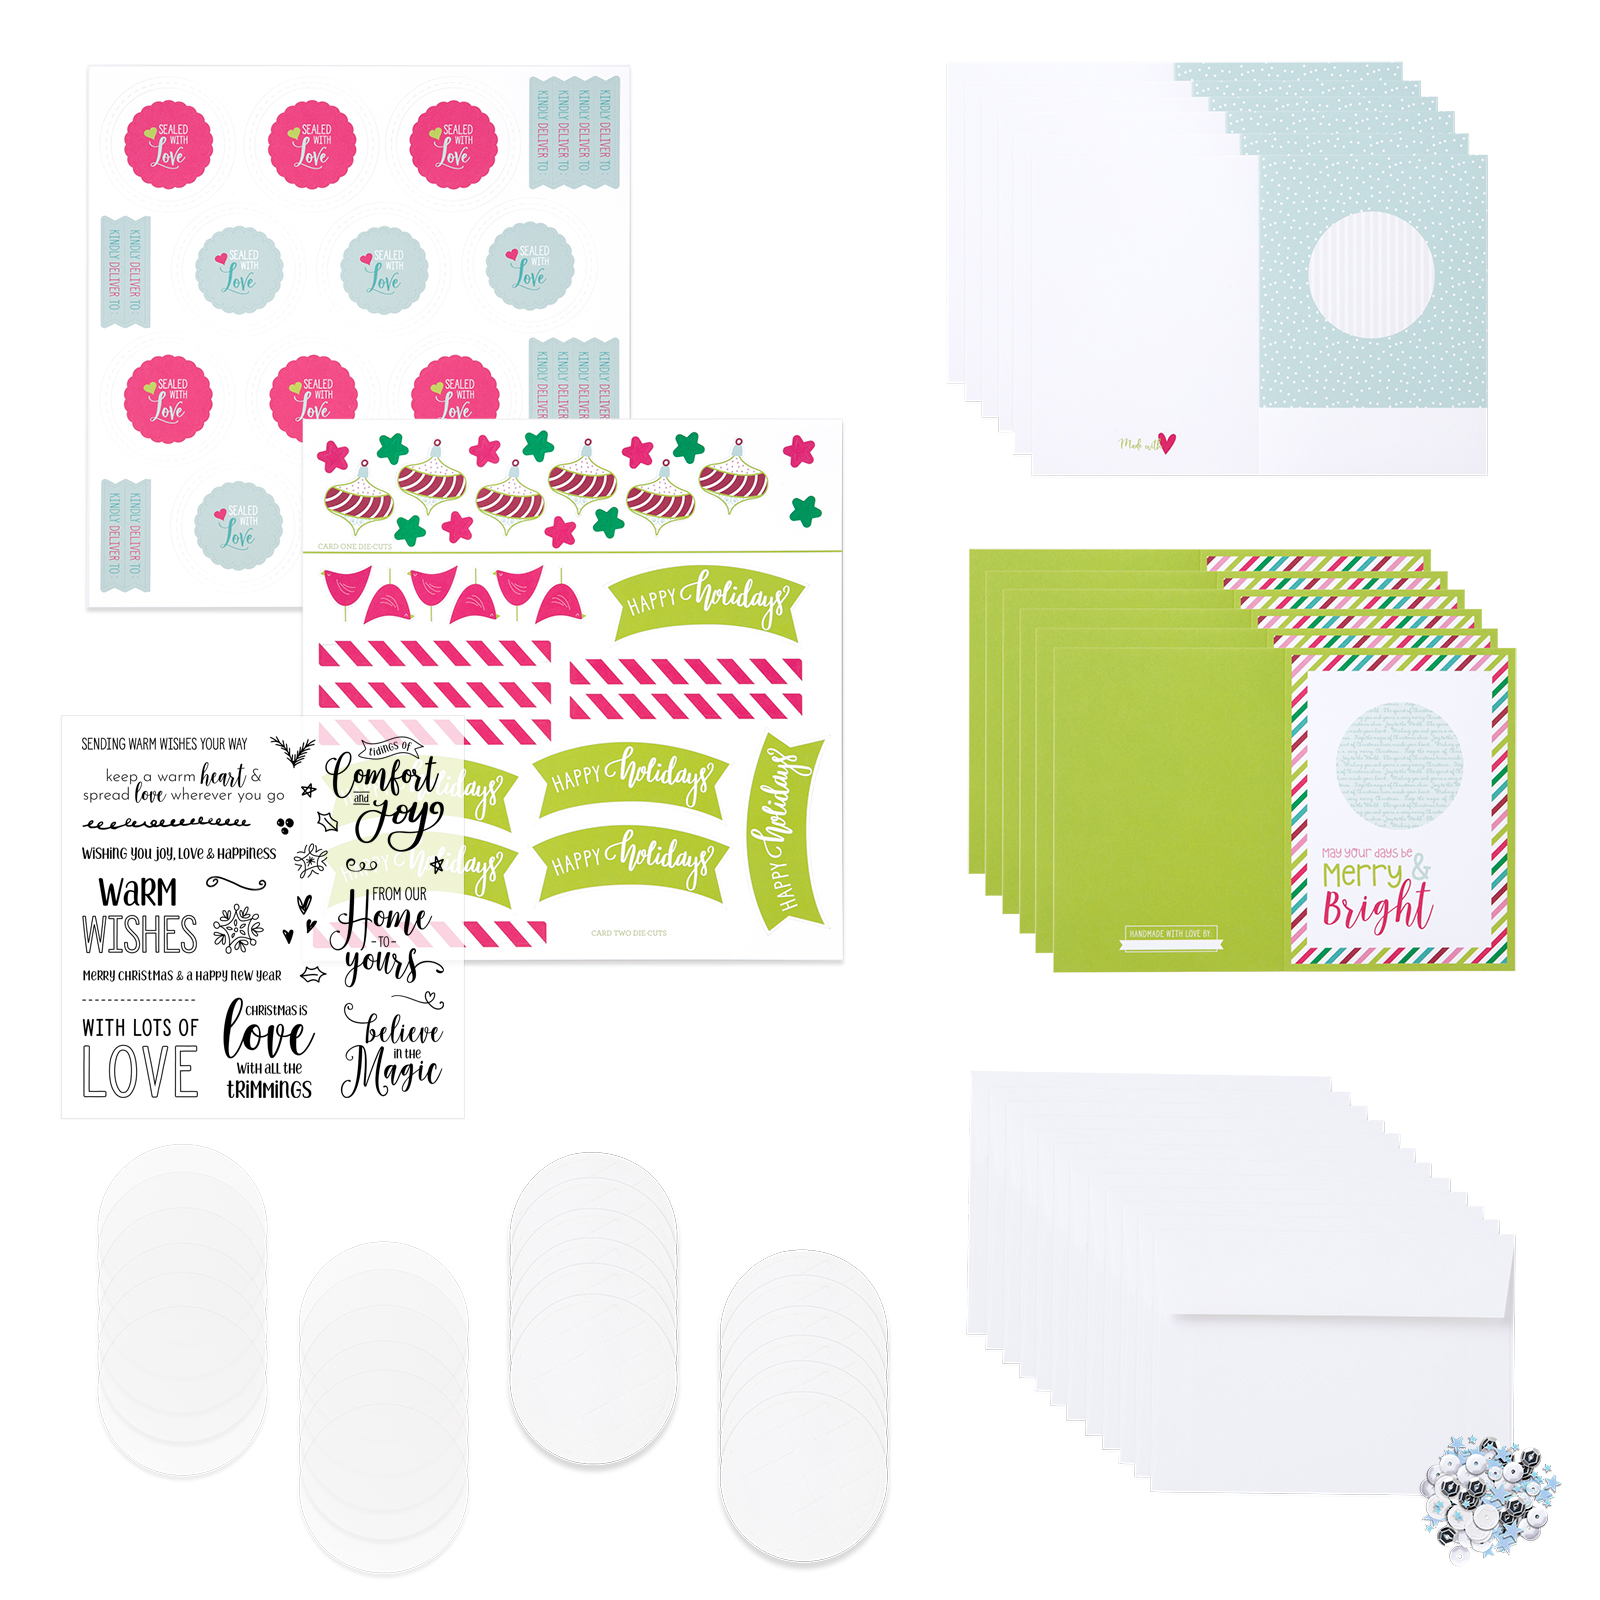
This blog is showcasing CTMH's Holiday Sparkle and Seasons of Joy Cricut Collection. I selected to feature our Holiday Sparkle Cut Above Card Kit. Here's a look at the stamp set and bundle:


My design showcases ways to personalize your design beyond the holidays. I want to assure you that if you purchase this kit and later discover you have purchased too many holiday cards, there are so many fabulous uses for shaker card bases beyond the holidays. Here's how to make my version of the Holiday Sparkle card:
Shaker Assembly:
1) Select a photo to feature in the shaker portion of your card.


3) Glue your photo on top of the circle on your card base. I knew I was adding shells to my shaker card and didn't want them to damage the photo so I used two acetate circles. I put one acetate circle above the photo but beneath the shaker filling. The second acetate circle is above the Shaker Window Foam (which can also be purchased separately from the kit, if desired).
4) Attach the Shaker Window Foam. I used a double layer of foam to accommodate the size of the shells I added to my design. Use the anti-static pouch around the inside edges of the foam and the base of your shaker window to minimize any static inside your shaker window.
5) Add the silver loose sequins, the heart confetti, a few small shells and a bit of beach sand (if desired) into the shaker 'pool'.
6) Remove the film from the clear acetate. Attach the clear acetate to the top of your foam ring.
7) Using Liquid Glass, attach the cover ring of your shaker, or use one of the stickers in your Cut Above Kit.
Card assembly:
1) I wrapped some twine around the outside of the shaker two times and then tied a knot.
2) I used the Decorative Thin Cuts and cut two tassels out of Pomegranate cardstock. I rolled the tassels with my quilling tool, adding small dots of glue as I went. I slipped the twine on each end through the top ring of each tassel. I added the teal and heart charms and knotted the twine. Finally, I tied a bow and trimmed the ends.
3) I used the back of the punch out greeting and the stamp that came in the bundle to stamp the sentiment on my card in Lagoon ink. I used the mini hearts from the same stamp set and stamped them in random places on the strip of cardstock around the sentiment.
4) Attach a 1.5"x5" strip of lagoon across the bottom of the card.
5) Attach Red Shimmer Trim at top of lagoon strip.
6) Attach sentiment using foam dots to add dimension.
Enjoy!
I would love it if you'd share your thoughts in a comment before continuing with our hop. For a detailed list of products used, please scroll past my signature line. Your next stop along this hop is Alyson Mayo's blog so hop on over and see what wonderful creation she has for you today.
Stay creative and continue to share kindness along the way,
Kimberly
Close To My Heart products:
Stamp set: Holiday Sparkle: Love with All the Trimmings
Exclusive My Acrylix Ink: Lagoon
Cardstock: Pomegranate and Lagoon
Bundled Cut Above Card Kit: Holiday Sparkle Bundle
Thin Cuts: Decorative Borders, Shaker Window & Confetti
Embellishments: Base & Bling Teal Bead Charm: Faux Gold and Base & Bling Heart Charm: Faux Gold (both in Clearance), Red Shimmer Trim
Other Close To My Heart supplies used:
Bone Folder (to fold card, and press foam tape down)
Liquid Glass (to adhere clear acetate)
My Acrylix Spritz Cleanser and Stamp Scrubber (care and maintenance of stamps)
Tweezers (to place small pieces/embellishments on card)
Want to make this? Let's go shopping! Want help with assembly? Let's do a Facebook Live! Just let me know.
If you are not already working with a consultant, I'd be honored to earn your business. If you'd like to enjoy the added privileges of being a consultant, I can show you how. Check out the labeled tabs for more details. You can also contact me via comment or email.
No comments:
Post a Comment
I read and appreciate all comments. Thank you!